
Docs · Guide
Creating Tables
Let's first take a look at how we create tables in Toca. When we refer to Tables, we are almost always referring to tables that exist within Datastores. If you think of a Datastore as a database, then the tables are simply database tables! You can also create temporary tables within automation Activities and app IPL but for storing data persistently, we need to use tables created in a Datastore.
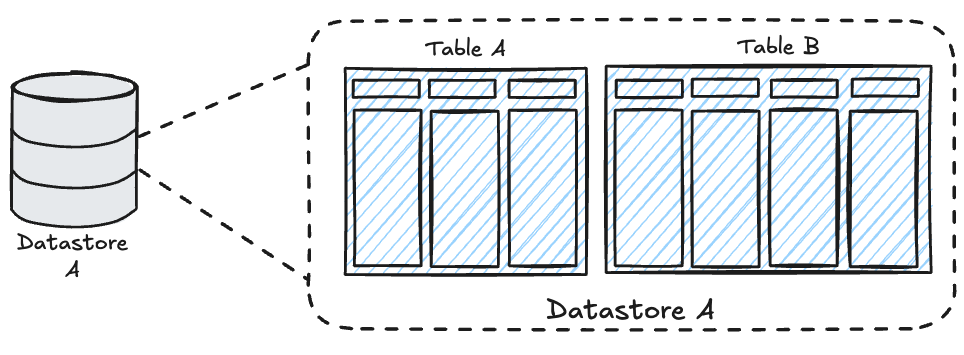
These tables can be interacted with via both Automation through Actions in Activities such as "Get Table Data" or "Add Row to Table", as well as through Apps in either App Components such as a "Table Component" or with App Actions such as "Get Table Data with Query". You can also browse and interact with the tables from the Datastore interface.
Building Tables
There are two main parts that make up a table, it's schema which is the technical term for it's structure and the data.
Before we can add any data to our table, we must first define the structure of the table. The structure is predominantly defined by the columns and the data type of each column. A data type allows us to be more precise about what kind of data we are storing in each column. This helps as it means when we try and use the data from the table in our automation or apps, it understands how to interpret the data. It also means that when we insert data into the table, any values that don't adhere to the types for each column will be rejected, so the data integrity in our table is maintained.
You can read more about data types in tables here.
In the example below, the columns would have data types of:
- UUID
- String
- String
- Image
- Date
| Id | Name | Email address | Profile picture | Date of birth |
|---|---|---|---|---|
| 1 | Alan Turing | alan@computers.inc | 💻 | 1912-06-12 |
| 2 | Tim Berners-Lee | tim@worldwideweb.com | 🌐 | 1955-06-08 |
| 3 | Linus Torvalds | linus@linux.net | 🐧 | 1969-12-28 |
This means that if someone tried to something other than a date in the Date of birth column, there would be an error. It also means that anything other than an image added in the Profile picture column would also error. This helps us to keep our data correct and valid!
Let's have a go at creating the above example table in a Toca Datastore.
Defining a Schema
Before creating a table, we must make sure we have a Datastore to create the table in, if you don't have an existing datastore then we can just create one.
Now that we have our Datastore, let's create a table.
When we create a table we need to give it a name so that we can reference the table by name in future and then we need to create the columns. Each column has a label and a name, the label is the human readable name of the column that will be displayed in almost all user interfaces that a table can appear in whereas the name is the technical name for the column that is used behind the scenes.
Now that we have created the table, we can add our data.
Adding Data
We can either add data manually via the Datastore interface or we can add it via some Automation. Let's explore how we can do both.
Via Datastore
When adding data to a table via the datastore interface, you are presented with a modal that let's you specify a value for each column. The input fields are aware what type each column represents so offers you the corresponding input type.
Whilst practical for some occasions, in reality you won't find yourself adding data manually very often. In practice, you'll find almost all data that is added to tables is driven through automation either ingesting the data from elsewhere or using the inputs from a user submitting a form you've designed in an App.
Via Automation
To add data to a table from automation, we need to use an "Add Row to Table" action in an Activity.
Much like when we added data manually, the Add Row to Table action natively understands the types used in the columns in our users table. This means it gives us the right types of input fields for each value we are adding in the row.
Just like when we added data to the table from the Datastore interface, we have manually typed in the data we are adding to the table. This means that if we were to run this activity again, we'd end up with a duplicate row. Let's fix this so that the Activity is expecting inputs for each value we are adding in the row so that the automation can be driven by inputs from elsewhere.
In the above screen recording, we define each value that we want to add in our row as an individual input to the activity. Then we replace the values that we manually typed out in the Add Row to Table action with the datachips which represent the inputs to the activity.
Now, if we place the activity into a Workflow and attach a Listener to it or a Connector, we can allow anyone running this new Workflow to define their own values for each input!
You have now created your Users table. In the next article we'll take a look at creating other related data and linking it to this table.